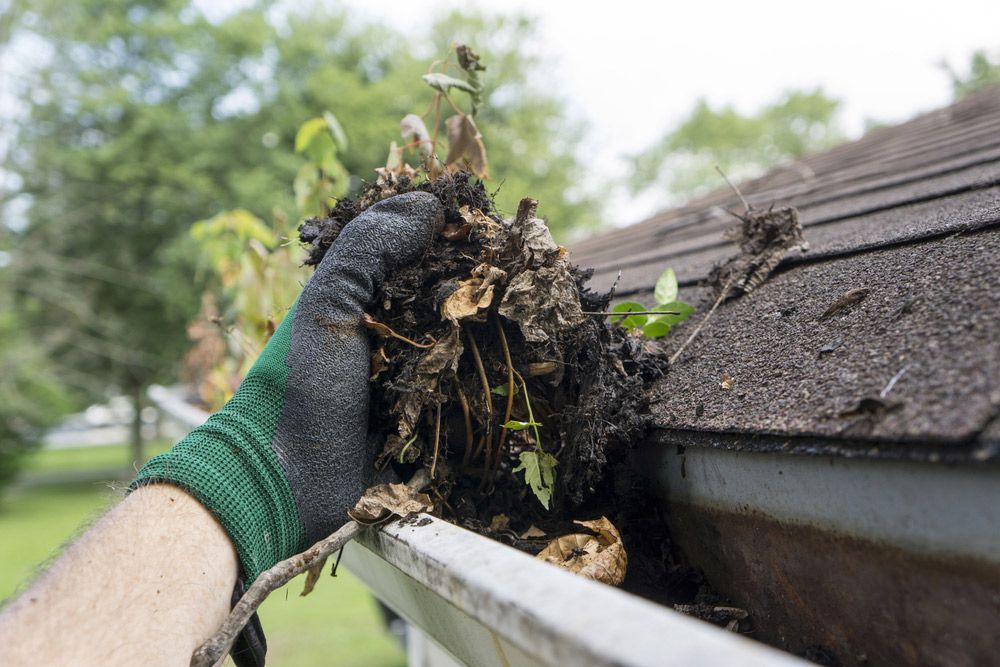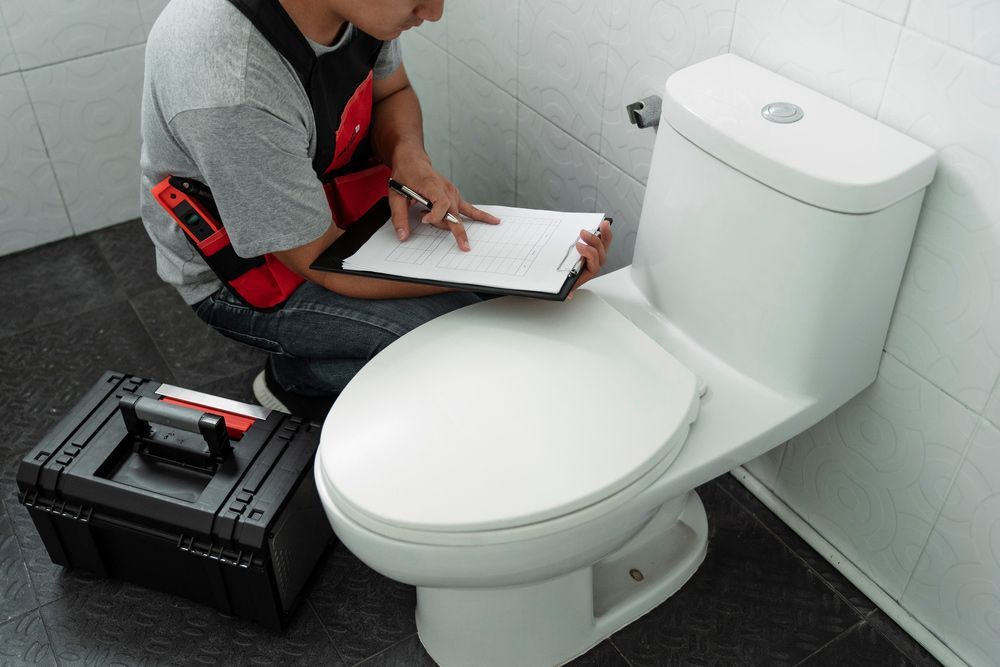
How to Clear a Blocked Drain Without Damaging Your Pipes
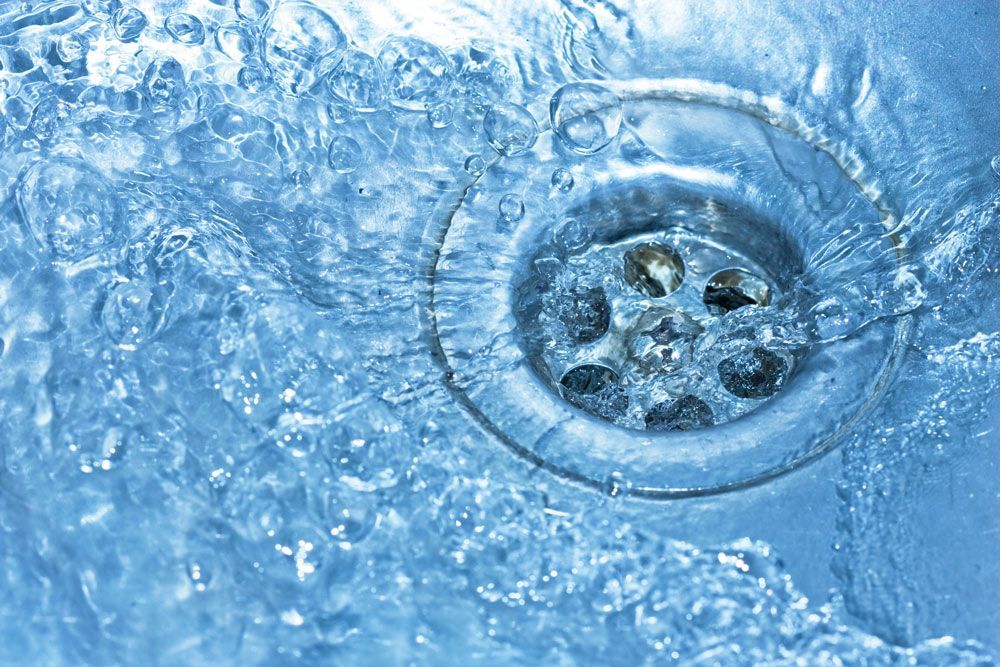
A slow-draining sink, water pooling in the shower, or a gurgling toilet are all common signs of a blocked drain. The good news is, these are some of the most common blocked drains we fix across Townsville, and a good number of them can be cleared with the right DIY approach. In this guide, we’ll cover what you can safely fix yourself, what you shouldn’t attempt, and the right approach for the specific drain you’re dealing with, so you don’t turn a simple blockage into a bigger, more expensive plumbing repair. TL;DR Before You Try Any of the Methods Below 6 Ways to Clear a Blocked Drain on Your Own The methods below are arranged from the simplest to the most involved. Start with the first method and work your way down only if needed. This helps reduce the risk of damaging your pipes while giving you the best chance of clearing a minor drain blockage yourself. 1. Flush the Drain with Hot Water This is the first thing worth trying if water’s still draining, but slowly. It works well on grease and soap residue, though it won’t do anything for a hair clog that needs physically pulling out. Works for: kitchen sink, bathroom sink, shower or bath, laundry drain Things you’ll need: How to do it: 2. Break Down Build-Up with Baking Soda and Vinegar If hot water alone didn’t fully clear it, this is the next step up. The fizzing reaction helps break down soap scum and light organic build-up, but like the hot water flush, it won’t help dislodge a solid hair clog or a foreign object stuck in the pipe. Works for: kitchen sink, bathroom sink, shower or bath, laundry drain Things you’ll need: How to do it: PS: At this point, you might be tempted to reach for a chemical drain cleaner, so if you do use one, follow the manufacturer’s instructions exactly. If it doesn’t clear the blockage, don’t try to force it by increasing the concentration, leaving it in longer than recommended, or mixing in another cleaner, that can harm you, damage the pipe, and make it unsafe for a plumber to work on later. 3. Dislodge the Blockage with a Plunger If the fizzing didn’t help, you’re likely dealing with something sitting in the drain and that’s where a plunger can help. Just make sure you’re using the right one for the job. For sinks, showers, and baths, use a flat-cup plunger, or an accordion plunger if you need a stronger grip. For toilets, use a flanged plunger, the one with the extra rubber lip, which is built to seal in the bowl and won’t work properly on anything else. Works for: kitchen sink, bathroom sink, shower or bath, toilet Things you’ll need: How to do it (for sinks, showers, and baths) How to do it (for toilets) 4. Remove the Blockage with a Hooked Wire or Drain Snake If plunging didn’t get things moving, you’re likely dealing with hair wrapped around the pipe wall or snagged at the trap. A hooked wire or drain snake will help grab and pull that clump out but you’ll need to be careful with how much force you apply. If you hit firm resistance and keep pushing, you risk cracking an old trap, scratching the pipe, or shoving the clog further in where it’s harder to reach. Works for: bathroom sink, shower or bath drain Option A: Hooked Wire Things you’ll need: How to do it: Option B: Drain Snake Things you’ll need: How to do it: 5. Remove and Clean the P-Trap (U-Bend) If you’ve tried everything above and it’s still blocked, the clog is probably sitting inside the U-bend itself, right where a plunger or wire can’t quite reach it. So your only option is to take the pipe off and clean it out by hand – which takes more effort than the earlier steps, but it puts you directly at the spot where the blockage is stuck. Works for: kitchen and bathroom sink Things you’ll need: How to do it: 6. Clear Surface Debris from Outdoor Drains This one covers a different situation: water pooling around an outdoor grate or stormwater drain, with leaves, dirt, or debris visible on top of it. Works for: outdoor stormwater grates Things you’ll need: How to do it: A little tip: Townsville’s wet season pushes leaves and dirt into outdoor grates fast, so it’s worth checking them regularly during heavy rain. And if the grate’s clear but water is still pooling, that’s a sign the blockage is further down the pipe – you’ll need to call a plumber to inspect and fix it. 7. Extract the Blockage Use a Wet/Dry Vacuum If you don’t have a plunger on hand, a wet/dry vacuum is a solid alternative for a stubborn blockage. It can pull the obstruction back up toward the opening, which makes it much easier to remove by hand afterward. It’s best suited to softer blockages like paper, hair, or organic matter, and won’t do much against anything solid or lodged deep in the system. Works for: toilets, kitchen sinks, bathroom sinks, bathtubs, showers Things you’ll need: How to do it: One important caution here: Never use a wet/dry vacuum if you’ve recently poured a commercial chemical drain cleaner into the drain. The vacuum could spray all those chemicals back towards you. Final Thoughts Even if you’ve managed to clear the blockage, it’s not always a permanent fix. If the same drain keeps blocking after you’ve cleared it, or more than one fixture is affected at once, the problem is usually deeper within the drainage system. It could be anything between a tree root intrusion, or severe pipe damage – which are all structural issues that none of the DIY methods in this guide will fix. That’s where a professional inspection makes all the difference. At 1Touch Plumbing, we use CCTV drain inspections to identify the actual cause of recurring blocked drains, allowing us to