
A leaking roof catches you off guard. One minute, everything is fine, and the next, there’s water running down your wall.
What starts as a small drip can quickly lead to mould growth, damaged insulation, and warped timber, leaving you with thousands of dollars in repair costs. But acting quickly can help limit the damage while you arrange a repair.
In this guide, we’ll tell you exactly what to do when your roof leaks in Townsville, so you can limit the damage, protect your home, and get the leak fixed before it turns into a bigger problem.
TL;DR
- Stay safe first: Keep away from water near electrical fittings and any sagging, bulging, or cracked ceilings. Call the Queensland SES on 132 500 for storm-related emergency assistance or 000 if anyone is in immediate danger.
- Limit water damage: Move furniture, electronics, and valuables away from the leak. Place buckets under drips and use towels to soak up water on the floor.
- Find the leak’s source: After the rain stops, check ceiling stains and safely accessible roof cavities for water trails. From the ground, look for damaged flashings, blocked roof valleys, gaps around roof penetrations, and overflowing gutters.
- Dry the affected areas: Use fans if the electrical system is safe, and hire a dehumidifier if needed. Have a professional check whether wet insulation or damaged plasterboard needs replacing, and watch for mould growth within 24–48 hours.
- Document the damage: Photograph the leak, ceiling stains, damaged belongings, and visible roof damage. Record when the leak started and keep receipts for emergency expenses.
- Contact your insurer before permanent repairs: Report the damage, check what’s covered, and ask whether you need approval before proceeding with permanent repairs.
- Get a licensed roof plumber: A professional can trace the leak, carry out emergency make-safe work, and repair the underlying cause. Keep the repair invoice, photos, and warranty details for your records.
While Water Is Coming In: Protect Your Home and Stop the Damage Spreading
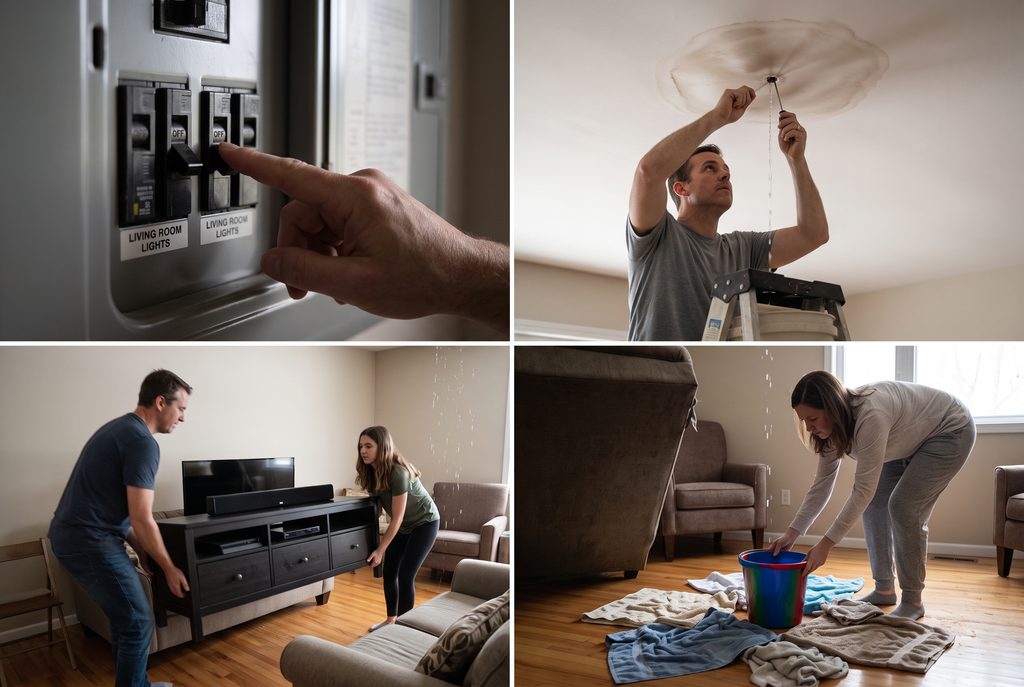
Before dealing with the roof leak, check for immediate hazards and make sure it’s safe to enter the affected area. Then, take steps to protect your home and belongings from further water damage.
Check It’s Safe to Enter the Room
- Keep clear of electrical hazards: If water is dripping near a light fitting, ceiling fan, power point, or exposed wiring, stay out of the affected area. If you can safely reach the switchboard from a dry location, turn off the affected circuit or switch off the main power supply to the house. Call a licensed electrician to check the electrical system before restoring power.
- Keep clear of any ceiling that’s sagging, bulging, or cracking: Place a bucket under the lowest point of the bulge and make a small hole at that point with a screwdriver or nail to let the trapped water drain into the bucket. However, a waterlogged ceiling can collapse without warning, so don’t attempt this if the ceiling looks unstable. Get everyone out of the room and call a roof plumber to assess the damage and arrange safe drainage and repairs.
If storm damage has made your home unsafe, contact the Townsville SES on 132 500 for emergency assistance. Call 000 if water has created an immediate electrical hazard, part of your roof or ceiling has collapsed, someone is injured, or anyone is in immediate danger.
Contain the Water
Once you are sure the affected area is safe, take these simple steps to limit the mess while you wait for the rain to stop.
- Move your belongings out of the way: Shift couches, beds, rugs, electronics, and other valuables away from the leak to prevent water damage. If water has already reached the carpet, move lightweight furniture off the wet area to stop moisture from spreading to more items.
- Catch the dripping water: Place a bucket, tub, or large container under the leak. Use towels to soak up splashes on the floor.
Now that you’ve dealt with the immediate safety risks, take a few photos and videos of the damage for an insurance claim.
Once the Rain Stops: Find Where the Leak Starts and Dry Out the Room
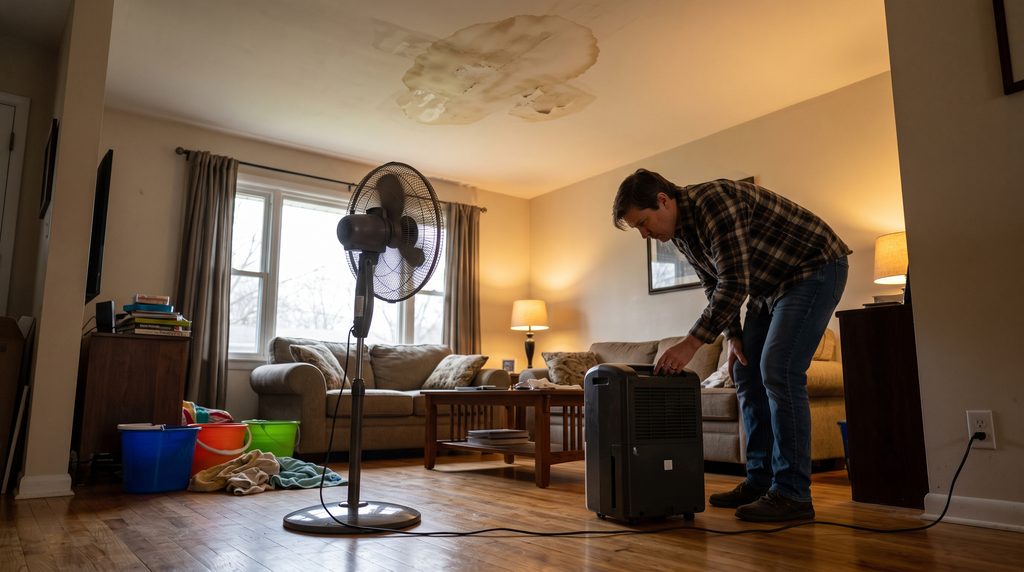
The rain has stopped, but water is still trapped in your ceiling, insulation, and walls. Find where the leak started and dry out the affected areas before mould grows.
Start With the Stain
The wet patch on your ceiling doesn’t necessarily sit directly beneath the hole in your roof. Water can travel along roof timbers, run behind plasterboard and soak into insulation before it finally drips into your room. The actual entry point might be metres away from the stain.
Start by looking at the ceiling stain and noting its position. If you can safely access the roof cavity without stepping on the ceiling or going near exposed wiring, look for wet timber, damp insulation, and water trails on the underside of the roof. Follow the trail back to where it begins, as this can help narrow down the leak’s source.
Check the Usual Roof Leak Sources
Don’t climb onto the roof to check for damage yourself, especially after rain. Wet roof sheets can be slippery, and storm damage may have weakened the roof structure, increasing the risk of a fall or collapse. From the ground, use binoculars or a phone zoom to check for:
- Roof flashings: Check where the roof meets walls, chimneys, vents, and skylights for lifted metal strips, cracked sealant, or gaps that could let rainwater in.
- Roof valleys: Look for leaves and debris collecting in the channels where two roof slopes meet, along with visible rust or damage that could stop water from draining properly.
- Roof penetrations: Check around solar panel mounts, vent pipes, antennas, and skylights for damaged seals or gaps where water could seep through the roof.
- Gutters and downpipes: Look for leaves, blockages, or sagging sections that could stop rainwater from draining away, causing it to overflow or back up beneath the roof edge.
If you spot anything suspicious from the ground, take a photo to give your roof plumber a clearer idea of where to investigate and document the damage for your insurance claim.
Dry Out the Room Properly
Finding the leak is only half the job. You must dry trapped water properly to limit further damage and reduce the risk of mould growth. Here’s what you can do:
- Use fans to move air around: If the electrical system is safe to use, run a pedestal fan to keep air moving across damp surfaces. Keep windows and doors closed after rain in Townsville, as the outdoor air is highly humid and can slow drying and leave damp surfaces wet for longer.
- Use a dehumidifier: A dehumidifier is one of the most effective ways to remove moisture from indoor air and speed up drying. If you don’t have one, you can hire one from any equipment hire company. Run it in the affected room and empty the water tank regularly.
- Check for wet insulation: Water stains, damp patches or drips from the ceiling can indicate that water has reached the insulation above. But to be 100% sure, ask a professional to inspect the ceiling cavity and check whether the insulation needs to be removed and replaced.
- Check the plasterboard: If the ceiling is safe to access and there are no signs of sagging, gently press the wet area to check for soft or spongy spots. If the plasterboard crumbles easily, its paper layer is peeling, or the ceiling has sagged, it needs to be replaced. Have an expert assess the damage before deciding whether to repair or replace it.
Our team at 1Touch Plumbing can inspect the affected ceiling cavity and help determine whether your insulation or plasterboard needs replacing.
Watch for Mould
As you dry out your home, keep an eye out for mould. Townsville’s warm, humid conditions can encourage mould growth on wet materials within 24 to 48 hours.
Over the next few days, watch for dark spots, discolouration or a musty smell around the ceiling, walls and other damp areas. You can clean small patches of mould with a suitable mould cleaner.
But if mould covers a large area, keeps returning or has spread inside the ceiling cavity, contact a professional mould remediation company. They can assess how far the mould has spread, identify moisture sources, check affected building materials, and recommend the necessary cleaning, removal, and drying work.
Before the Roof Plumber Arrives: Record the Damage for Your Insurance Claim
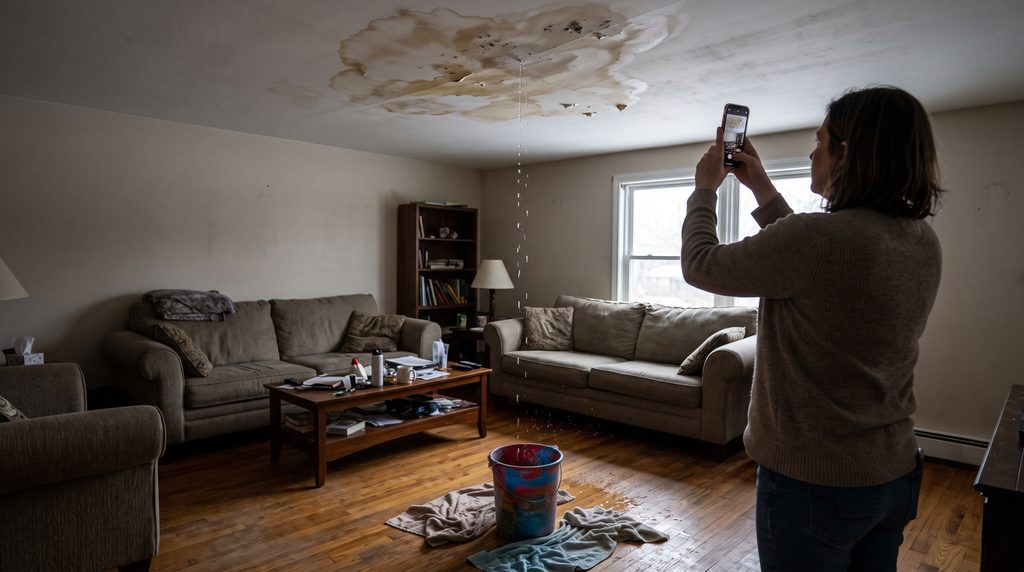
You’ve found signs of the leak and protected your home; now take some time to document the damage. Photos, receipts, and a timeline can help your insurer understand what happened, how the damage progressed, and what you did to protect your home.
Start With Wide Shots, Then Close-Ups
Start outside if it’s safe. Take photos of the roof from the ground, including the roofline, gutters, and any visible damage to the roofing or flashings.
Next, photograph each affected room. Take wide shots showing the ceiling, walls, floors, and belongings, then close-ups of water stains, dripping points, wet carpet, and damaged furniture. Include a ruler or tape measure in some photos to show the size of the affected area.
If the ceiling is bulging, photograph it from a safe distance without touching it. You can also photograph the water collected in buckets and any belongings damaged by the leak.
Record When the Damage Happened
Write down when you first noticed the leak and when the rain started and stopped. Record any changes, such as a spreading ceiling stain, faster dripping, or water appearing in another room. This timeline helps establish that the damage was caused by the storm or rain event, not by a pre-existing maintenance issue.
Keep Receipts for Emergency Expenses
Save receipts for expenses related to protecting your home, such as hiring a dehumidifier or buying materials for temporary protection. Your insurer can confirm which costs your policy covers.
Hold On to Damaged Items Until Your Insurer Advises You
Your insurer may send an assessor to inspect damaged belongings before approving a contents claim, and an item you’ve already thrown out is harder to claim for. Photograph each item clearly, including its brand label, since this helps the insurer work out what it costs to replace. Store everything somewhere dry until your insurer tells you what to do with it. Soaked carpet and cushions can grow mould within days in Townsville’s humidity. So if an item becomes a health risk, photograph it, dispose of it and tell your insurer why it had to go.
Contact Your Insurer Before Authorising Permanent Repairs
Contact your insurer as soon as possible to report the damage and find out what they need for your claim. Also have your policy number ready, and note the date and time of the call, the name of the person you speak to, and your claim reference number.
Ask them whether you can arrange emergency make-safe work, such as temporarily covering the damaged roof or securing loose roofing to stop further water from getting in. Then, check whether you need their approval before starting permanent repairs, such as replacing damaged roof sheets or flashings. If they need to assess the damage first, ask what you can do in the meantime to protect your home without affecting your claim.
Call a Licensed Roof Plumber for Emergency Make-Safe and a Lasting Repair
Once you’ve checked with your insurer, call a licensed roof plumber to stop the leak and repair the damage.
Here’s how a 1Touch roof plumber would tackle the problem.
- Trace the leak to its source: The plumber will inspect the roof and roof cavity and check the sheets, flashings, valleys, gutters, and openings around vents or skylights to find where water is getting in.
- Stop the water from getting in: If the leak is still active, they will secure loose roofing, seal a leaking joint, or cover the damaged section with a suitable temporary waterproof covering to limit further water damage until they complete the permanent repair.
- Repair the damaged area: Then they’d explain and carry out the necessary repairs. These may include replacing damaged flashings or roof sheets, fixing faulty gutters and downpipes, or resealing gaps around vents, skylights and solar panel mounts.
- Check the completed work: After the repair, our plumber will inspect the affected area to check that the problem has been addressed. They’ll explain what they’ve repaired and provide an invoice detailing the work and any applicable workmanship warranty.
After the work is done, save the quote, invoice, photos, and warranty details. If the leak returns, these records will help you follow up with the plumber and support a warranty claim.
Our team at 1Touch Plumbing is available 24/7 in Townsville and will arrive within 30 minutes of your call to handle everything from emergency make-safe work to permanent roof repairs.
Final Thoughts
A leaking roof is stressful, and you might feel tempted to fix it yourself or rush into a decision just to make it stop. But climbing onto a wet roof or trying an unsuitable fix can put you in danger, cause more damage, or even affect your insurance claim.
You must stay calm, take a moment to assess the situation, and make sure it’s safe to act. Then move your belongings away from the water and photograph the damage for your insurer. But remember, while these steps can help limit the damage, you’ll need a licensed roof plumber to fix the leak for good.
That’s where our team at 1Touch Plumbing comes in. Our QBCC-licensed roof plumber will inspect the damage, find the leak to its source, explain your roof repair options, carry out the necessary work, and provide insurance reports to support your claim.
Contact us today for expert roof leak repairs!
FAQs
Does home insurance cover a leaking roof?
Home insurance covers water damage inside your home caused by a roof leak, but it doesn’t cover the cost of repairing the roof itself unless the leak results from an insured event, such as a storm or falling tree.
However, leaks caused by wear and tear, poor maintenance, or gradual deterioration are often excluded. Check your policy and contact your insurer to confirm what’s covered.
Can you repair a roof leak while it’s raining?
Yes, you can take temporary measures to limit water damage while it’s raining, such as placing buckets under leaks, moving belongings out of the way, and protecting furniture with waterproof coverings. However, you should never climb onto a wet roof to attempt repairs because of the serious risk of slipping and falling.
How much does an after-hours call-out cost?
At 1touch Plumbing, an after-hours call-out costs $350, including the first hour of work. The final cost depends on the cause of the leak, the repairs needed, and any additional materials or labour. Our team will explain the expected costs before work proceeds.
How long does a roof leak repair take?
A simple roof leak repair, such as sealing a small gap around flashing or replacing a damaged roof sheet, takes one to three hours, while more complex repairs involving extensive water damage or structural issues can take a day or longer. Our roof plumber will provide a clearer estimate after inspecting the problem.